Complete Guide to Image Resizing for Beginners in 2026
Posted on Sep 05, 2025 by img2resizer team
My friend Sarah called me frustrated last week. She'd been trying to upload photos to her new Etsy shop for hours, but they kept getting rejected for being "too large." Sound familiar? Here's what I wish someone had told me: resizing images doesn't have to be complicated.
Quick Definition: Image resizing means changing how big or small your photo appears without cutting any parts out. It's different from cropping (where you slice off edges).
The Jargon That Actually Matters
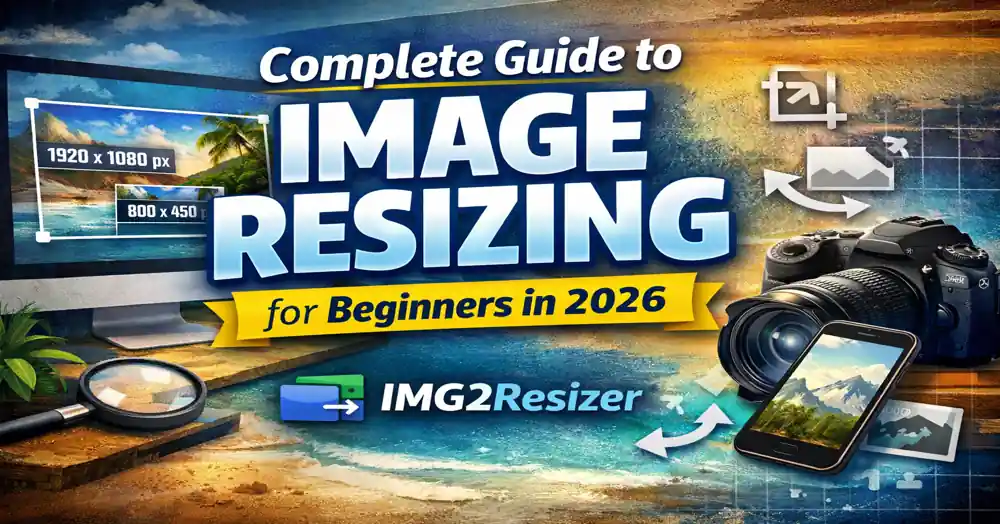
- Pixels: Think of these as tiny colored squares that make up your photo. When I say "1920×1080," I mean 1920 squares across and 1080 squares down.
- Resolution: How many pixels you have total. My iPhone takes 4032×3024 photos (12 million pixels!).
- Aspect Ratio: The shape of your image. Instagram likes squares (1:1), YouTube prefers rectangles (16:9).
- DPI: Only matters if you're printing. Screen = 72 DPI, Print = 300 DPI.
When You Actually Need to Resize
Your Website is Slower Than Dial-Up
I once uploaded 5MB photos to my blog and wondered why it took 30 seconds to load. Now I keep blog images around 1200 pixels wide and under 200KB. Page loads in 2 seconds.
Social Media Keeps Cropping Your Photos Weird
Instagram will butcher your beautiful landscape photo if it's not the right size. Resize to 1080×1080 for Instagram posts and 1080×1350 for stories.
Email Attachments Keep Getting Rejected
Gmail bounces 8MB photos. Resize to 800 pixels wide before sending.
File Formats: The Simple Truth
- JPEG (.jpg): Your Go-To for Photos. Throws away some data to make files smaller, but you won't notice.
- PNG (.png): For Screenshots and Graphics. Use when you need crisp text or sharp lines. Larger file sizes.
- WebP (.webp): The New Kid. Smaller than JPEG but looks better. Use on websites for faster loading.
- GIF (.gif): Just for Memes. Only use for animated memes.
The Quality Question
Rule of Thumb: Making images smaller = usually fine. Making them bigger = proceed with caution. Don't try to turn a thumbnail into a poster.
How I Actually Do It (The Real Process)
- Drag and drop the image: Most online tools let you just drag the file from your desktop.
- Pick your size: 1080×1080 for Instagram, 1200 wide for blogs, 800 wide for emails.
- Adjust quality: Keep JPEG quality at 85%. Lower looks bad, higher makes huge files.
- Download and check: Always open the resized image before using it.
- Keep the original: Don't overwrite your original file.
My Cheat Sheet for Common Situations
- Blog photos: 1200 pixels wide
- Instagram squares: 1080×1080
- Website banners: 1920×600
- Email newsletters: 600 pixels wide max
- 4×6 prints: 1200×800 minimum
- Facebook posts: 1200×630
Common Mistakes to Avoid
- The Funhouse Mirror Effect: Stretching a square logo to fit a rectangular banner. Always keep "maintain aspect ratio" checked.
- Death by a Thousand Cuts: Resizing images multiple times. Keep the original and resize fresh copies.
- Garbage In, Garbage Out: Using a tiny 200×200 Facebook pic for a poster. Start with the biggest version you have.
Related Tools
The Bottom Line
Image resizing isn't rocket science. 90% of the time it's just "make it 1200 pixels wide and save as JPEG." Keep your originals, don't stretch images, and remember that smaller files load faster. Everything else is details you can figure out as you go.