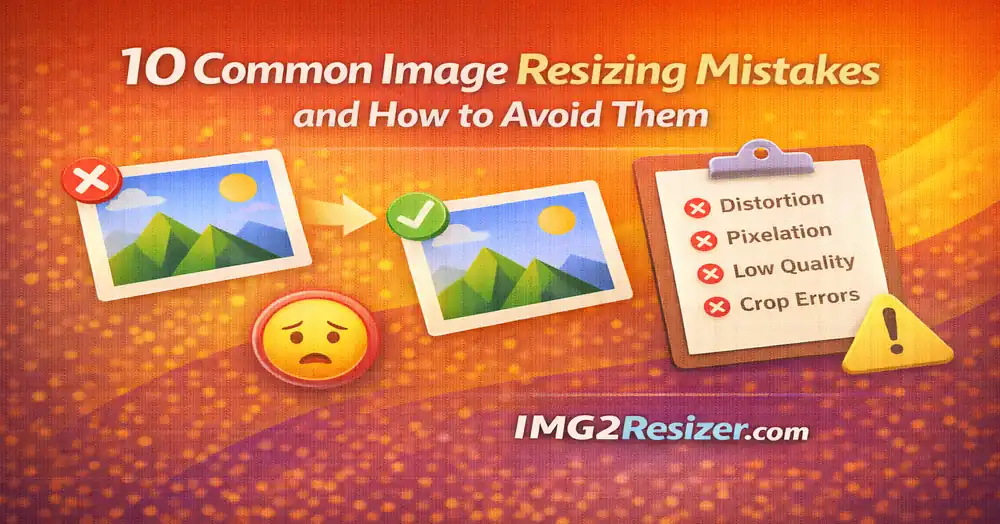
10 Common Image Resizing Mistakes and How to Avoid Them 2026
Posted on Aug 15, 2025 by img2resizer team
Picture this: It's 2 AM on a Tuesday and your phone starts buzzing. Your biggest client is losing his mind because you somehow managed to stretch every single product image on their e-commerce site. That little "oops" could cost you thousands in emergency fixes and sleepless nights.
Real talk: Even after years of experience, professionals still occasionally mess up image resizing. The difference is knowing what to look for and how to fix it fast.
Mistake #1: Ignoring Aspect Ratios (The Funhouse Mirror Effect)
What goes wrong: You've got a perfect 1000×600 photo and decide "I need it to be 500×500" and just force it. Everyone in your photo now looks like they've been put through a taffy puller. Faces become ovals, circles turn into eggs.
- Look for the chain link icon in your image editor to lock aspect ratio
- Quick math trick: Divide width by height. 1200÷800 = 1.5 ratio
- Any size with the same ratio works: 300×200, 600×400, 900×600
Mistake #2: The Great Upscaling Disaster
What happens: You find a cute little 200×200 logo online and think "I'll just make it bigger!" You drag those corners and congratulations, you've created digital modern art that makes people's eyes hurt.
Pro Tip: Never go more than 150% bigger than the original. Need a 1000×1000 image? Start with at least 650×650. Ask for vector files (SVG, AI, EPS) for logos.
Mistake #3: Using the Wrong File Format
You save a screenshot as JPG and all the text becomes blurry. Or you save a photo as PNG and the file size is so massive it crashes browsers.
- JPG: Best for photos with lots of colors and gradients
- PNG: Best for graphics, screenshots, logos, and transparency
- WebP: Modern format, smaller than JPG with better quality
Mistake #4: Ignoring Platform Requirements
You upload a perfectly sized image to Instagram but it gets cropped weirdly and cuts off important parts. Every platform has specific size requirements that change regularly.
- Instagram posts: 1080×1080
- Facebook covers: 1200×628
- LinkedIn banners: 1500×500
- Design with safe zones - keep important content in the center 80%
Mistake #5: Forgetting About File Size
Your images look perfect but your website takes forever to load. Users bounce before they even see your content. Google penalizes your site for slow loading times.
Rule of thumb: Web images should be under 500KB, ideally under 200KB. Use quality settings of 80-85 for JPGs.
Mistake #6: Resizing Multiple Times (Quality Death Spiral)
You resize an image for Instagram, then resize that resized image for Facebook, then resize it again for your website. Each time, the quality gets worse until it looks like a blurry mess.
- Always keep your original, highest-quality image
- Create all resized versions from the master file
- Use Bulk Resizer to create multiple sizes at once
Mistake #7: Not Testing on Mobile
Your images look perfect on your 27-inch monitor but are completely unreadable on phones. 60%+ of web traffic comes from mobile devices with much smaller screens.
Mistake #8: Using Poor Quality Originals
You start with a low-resolution, blurry, or poorly lit image and expect resizing to magically fix it. Spoiler alert: garbage in, garbage out.
Mistake #9: Ignoring DPI for Print
Your image looks perfect on screen but prints as a blurry, pixelated mess. Screen resolution (72 DPI) and print resolution (300 DPI) are completely different.
- Web = 72 DPI, Print = 300 DPI
- A 4×6 inch print needs at least 1200×1800 pixels
Mistake #10: Not Double-Checking Before Publishing
You resize hundreds of images, upload them all, and then discover they're all wrong. Always test a few images first before processing the entire batch.
Related Tools
Conclusion
These 10 mistakes are responsible for probably 90% of image resizing problems. Get these right, and you'll save yourself countless hours of frustration. Bookmark this page and use the checklist whenever you're working on important projects.